Photos and videos © 2025 Next Outdoor Adventures. All rights reserved unless otherwise noted.
This guide answers three practical ski trail rating questions:
Quick answer: Ski trail rankings are not universal. A green, blue, black, double-black, or European red piste rating is most useful inside the same resort or country system — not as a global standard. Use the color rating as a starting point, then check pitch, grooming, trail width, exposure, snow conditions, visibility, and exit options.
Trail rankings are subjective because they are not assigned in a vacuum. Resorts are constantly balancing safety, guest expectations, and the practical realities of mountain design. Difficulty labels also function as a form of wayfinding and messaging: they set the tone for how a mountain is perceived and help shape its appeal to skiers with different goals, confidence levels, and aspirations.
A steep-leaning destination faces a genuine classification dilemma. If a place like Jackson Hole labeled the majority of its terrain as black, many competent recreational skiers could interpret the mountain as “experts only” and skip it entirely, even though the resort may offer plenty of manageable runs, coaching terrain, and progression pathways. On the other hand, a softer label can surprise travelers arriving from mellower home mountains. Add local culture to the mix—where skiers who grow up on steeper pitches normalize them—and you get a double-edged problem: rate too conservatively and you narrow the mountain’s perceived audience; rate too generously and you raise the risk of mismatched expectations.
Bottom line: rankings help you choose between trails at the same resort, but they are not a universal standard.
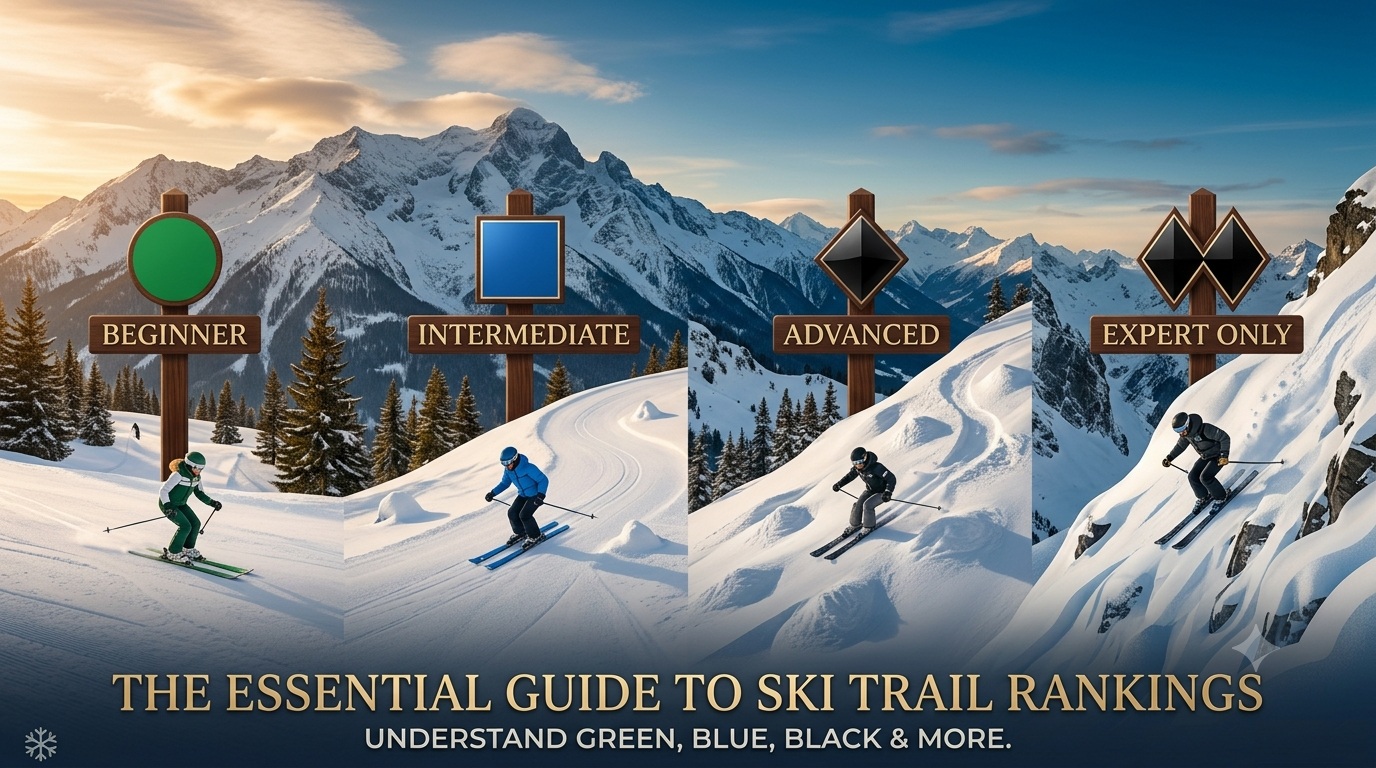
In North America, the standard system is green, blue, black, and—at some resorts—double-black. Across much of Europe, the most common system is blue, red, and black. Even when colors appear to line up, the experience can diverge: European reds often feature steeper, more sustained pitches than many U.S. blues.
| Skill band | US ranking | Europe ranking | Typical pitch angle (approx) |
|---|---|---|---|
| Beginner | 5° to 15° | ||
| Intermediate | 15 to 25° | ||
| Advanced | 25 to 35° | ||
| Expert / Extreme | 35°+ |
Notes: This comparison is intentionally approximate. Slope pitch varies within a trail, and resorts do not publish standardized pitch thresholds. Use this as a planning lens, not a rulebook. Europe is typically color-coded as green (easiest), blue (easy), red (intermediate), and black (most difficult); some countries also add additional colors or double/triple black for extreme terrain.
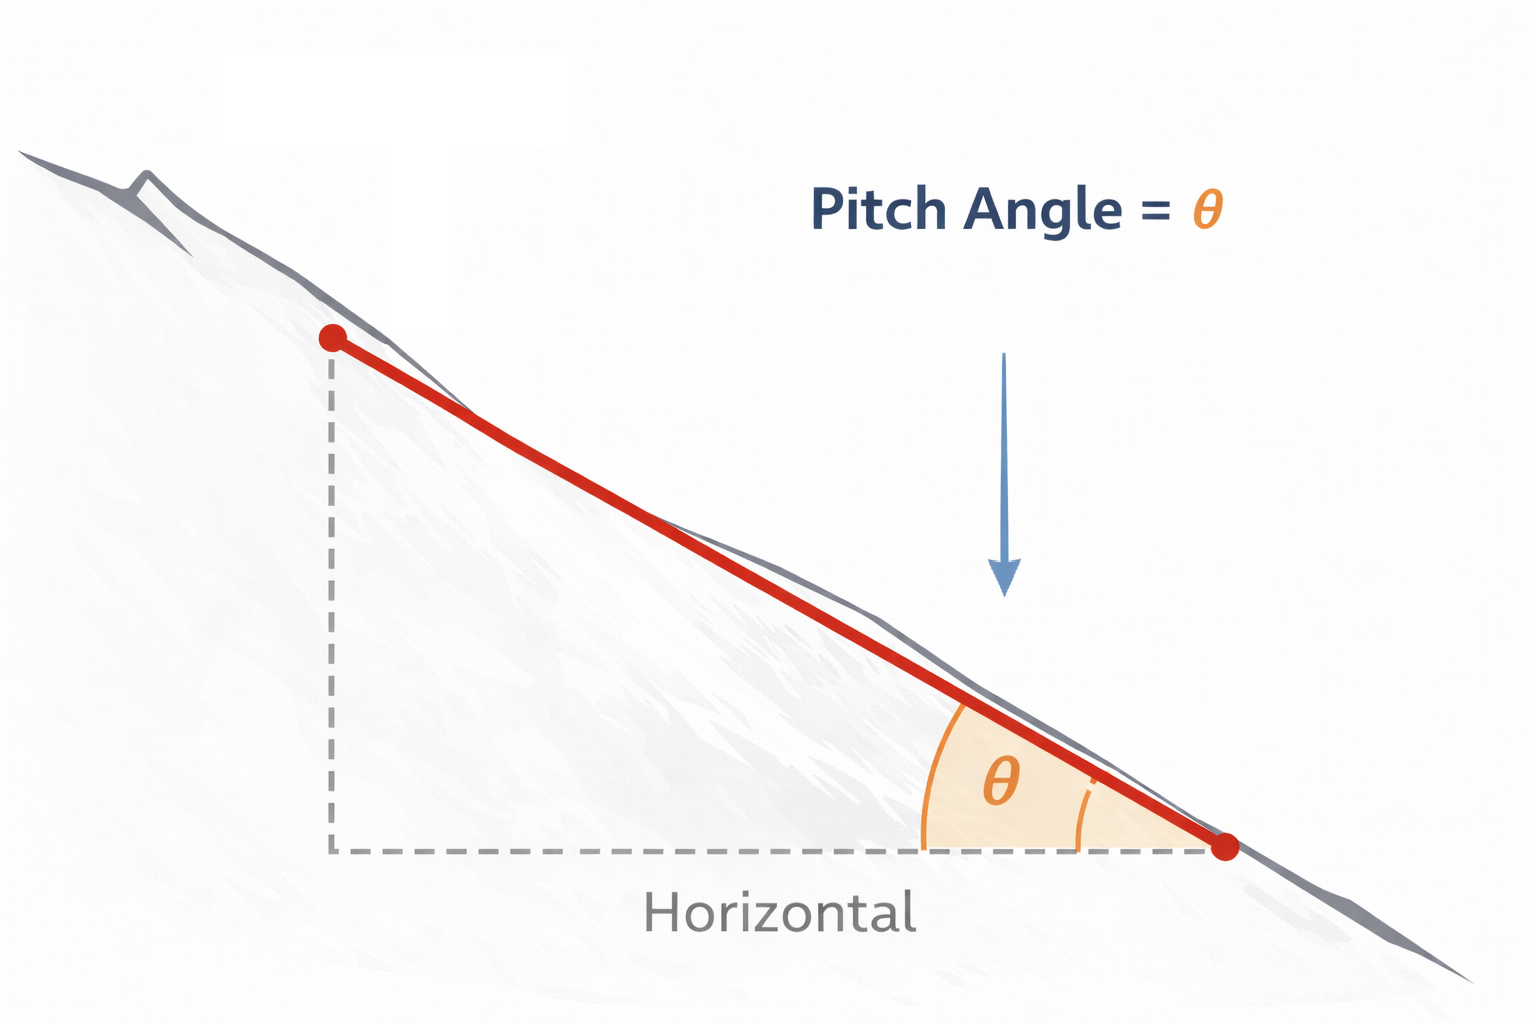
Notes: Visual illustation of a pitch angle
This isn’t only a cross-border issue; it can happen within the same country. A common example is skiers traveling to Sun Valley expecting gentle green terrain and being surprised by how steep certain groomed beginner runs can feel—especially if their home resort offers very mellow greens or expansive learning areas.
Skill note: If you’re skiing steeper slopes for the first time, plan to practice the fundamentals that make steep terrain feel controlled—turn shape, edge engagement, speed management, and confident stops. The same applies to expert terrain: invest time in instruction or coaching and progress deliberately before committing to consequential lines. For more detail, see our guide to knowing when you are ready for steep slopes.
Practical tip: if you are selecting terrain for a true beginner, prioritize wide trails with consistent pitch, low consequence edges, and easy exits. A single steep roll can dominate the entire experience.
There isn’t a single universal standard, but you can reduce surprises with a few practical steps. Treat trail rankings as a starting point, then sanity-check the terrain before you book—and again before you commit to a new zone.
Start with resort statistics and terrain breakdowns. This is exactly why we publish structured resort guides and comparisons.
When in doubt, start one level easier than you think you need, then progress in small steps. The goal is confidence, not survival.
Trail ratings are most useful when you apply them at the resort level. Terrain distribution, lift layout, and progression paths determine whether a mountain feels welcoming or overwhelming—especially for beginners and mixed-ability groups.
Related guide: How to Choose the Right Ski Resort for Your Skill Level

Andy Newman is the founder of Next Outdoor Adventures and has more than 10 years of firsthand skiing experience at major resorts across North America and Europe, including Jackson Hole, Sun Valley, Vail, Chamonix, and Dolomiti Superski.
Andy began skiing in his 40s and progressed from a complete beginner to skiing advanced and double-black-diamond terrain by his late 40s. That progression gives him a practical understanding of ski trail ratings, terrain progression, pitch, snow conditions, and how trail labels can feel different across resorts and countries.
His ski guides are based on actual resort visits and personal skiing experience—not generic destination descriptions or theoretical trail-map analysis.
No. Ski trail ratings are relative to the resort and country. A green, blue, black, double-black, or red run should be treated as a local label, not a universal standard.
North American resorts commonly use green, blue, black, and double-black markings. European resorts commonly use blue, red, and black pistes, although some areas also use green or additional expert markings. A European red piste can feel closer to a North American advanced-intermediate or black run depending on the resort.
No. Pitch matters, but so do grooming, width, exposure, snow surface, visibility, runout, and how long the steep section lasts. A short steep roll can make an otherwise moderate trail feel much harder.
Beginners should check trail width, pitch consistency, grooming, lift layout, escape routes, snow conditions, and whether the resort has true learning areas rather than only easier ways down a generally steep mountain.
Intermediate skiers should use ratings as a first filter, then check specific trail layout and conditions. Start with easier terrain at a new resort, then progress gradually after confirming how that mountain rates its runs.
Disclaimer: Pitch ranges here are approximations for planning and education. Actual slope angles vary by trail section and conditions. Always follow resort signage and make terrain choices appropriate to your skills and current conditions.